OpenVPN 系列 - 结合OpenLDAP + 2FA认证

背景
无
安装依赖组件
nslcd
使用系统自带包管理工具安装nslcd
- Debian/Ubuntu
$ sudo apt -y install nslcd libnss-ldapd libpam-ldapd
- RHEL/CentOS/OpenEuler/RockyLinux
# yum -y install nss-pam-ldapd
编辑/etc/nslcd.conf文件,将LDAP信息填入,范例如下:
uid nslcd
gid nslcd

uri ldap://IP或域名/
base dc=vqiu,dc=local
ldap_version 3

binddn cn=Admin,dc=vqiu,dc=local
bindpw Password
#rootpwmoddn cn=Admin,dc=vqiu,dc=local

#ssl off
tls_reqcert never
tls_cacertfile /etc/ssl/certs/ca-certificates.crt

scope sub
启动该服务
# systemctl restart nslcd && systemctl enable nslcd
google-authenticator
- Debian/Ubuntu
$ sudo apt install libpam-google-authenticator -y
- RHEL/CentOS/OpenEuler/RockyLinux
$ sudo dnf install epel-release -y && sudo yum install google-authenticator -y
服务配置
编辑 /etc/openvpn/server.conf 配置文件
...<省略若干行>...
plugin /usr/local/openvpn/lib/openvpn/plugins/openvpn-plugin-auth-pam.so openvpn
verify-client-cert none
username-as-common-name
创建pam认证文件
# cat > /etc/pam.d/openvpn<<EOF
auth required pam_google_authenticator.so secret=/etc/openvpn/otp/\${USER}.google_authenticator user=root forward_pass
auth required pam_ldap.so use_first_pass
account sufficient pam_permit.so
EOF
创建 otp 目录
# mkdir -pv /etc/openvpn/otp/
并创建一个otp 用户
# export USER=li4
# google-authenticator --time-based \
                       --disallow-reuse \
                       --force \
                       --no-confirm \
                       --rate-limit=3 \
                       --rate-time=30 \
                       --window-size=3 \
                       -l "${USER}@vqiu.cn" -s /etc/openvpn/otp/${USER}.google_authenticator
Warning: pasting the following URL into your browser exposes the OTP secret to Google:
  https://www.google.com/chart?chs=200x200&chld=M|0&cht=qr&chl=otpauth://totp/li4@vqiu.cn%3Fsecret%3DTJQKP7ZF73XHBFME34YRG3N2VE%26issuer%3DiZ7xv2409lxpnhn1h3wotvZ
  二维码
Your new secret key is: TJQKP7ZF73XHBFME34YRG3N2VE
Your verification code for code 1 is 454059
Your emergency scratch codes are:
  71240390
  56538184
  83744274
  90468255
  63457949
确保用户LDAP服务中存在。
使用手机已安装好的 FreeOTP或Google 身份验证器扫描屏幕中的二维码,将生成OTP。
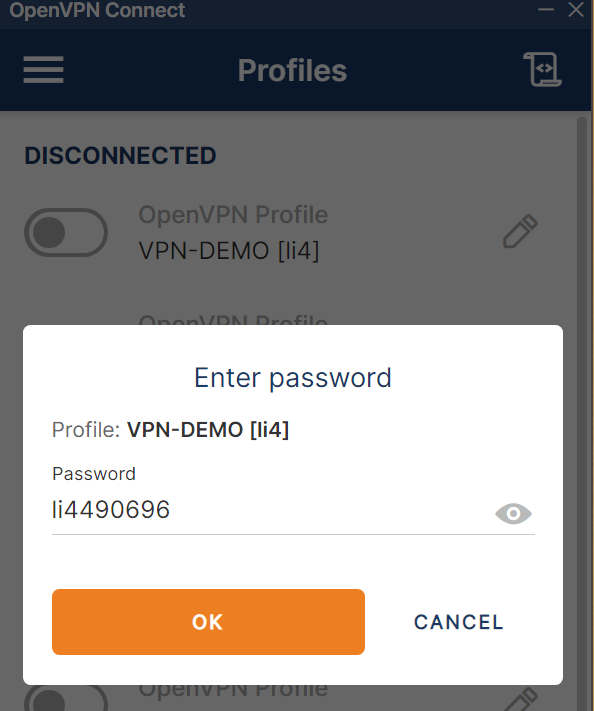
客户端登陆
用户名: ldap用户名
密码: ldap密码 + OTP